
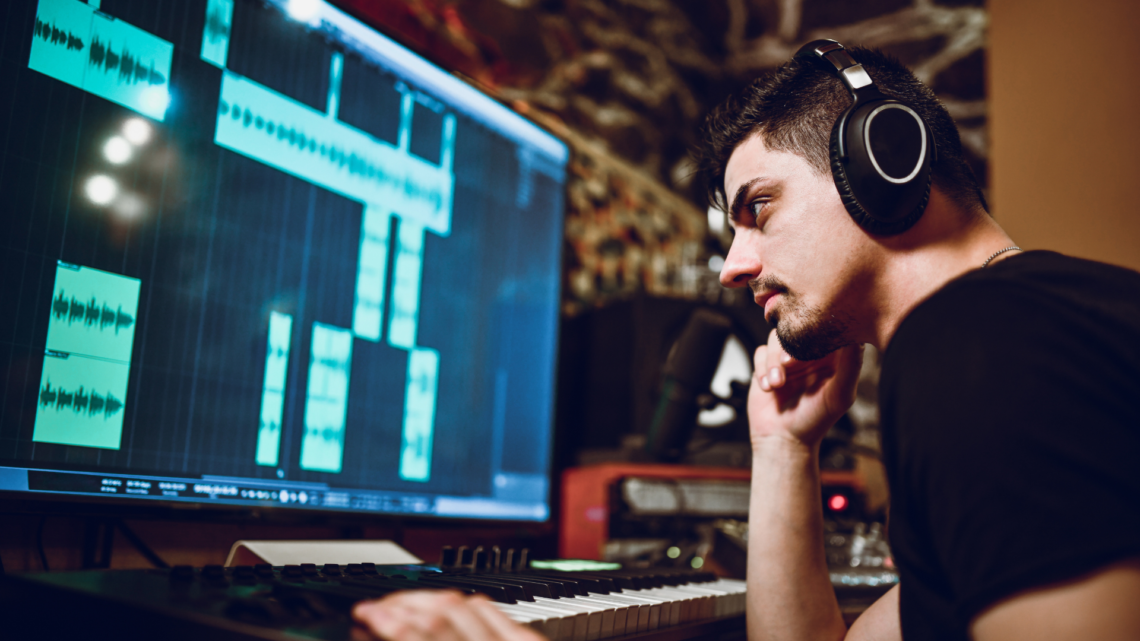
You want to capture a song’s melody, chords, and lyrics yourself, and this guide shows how to do it accurately and efficiently. They will learn to break a track into manageable parts, isolate key elements, and notate what they hear using simple tools and a repeat-listen workflow.
The article walks through practical techniques for slowing audio, identifying pitch and rhythm, and mapping chord progressions so the process feels systematic rather than intimidating. It equips them with a clear sequence of listening, testing, and documenting that turns a confusing mix into readable notation and playable parts.
Step-by-Step Guide to Manually Transcribe Songs
This guide breaks the process into focused, practical steps: prepare tools and audio, identify key and form, train the ear for intervals and rhythms, capture melody/harmony/bass, notate accurately, and polish the transcription with software or by hand.
Essential Tools and Preparation
They gather reliable playback and notation tools before transcribing music. Use a good pair of headphones, a slow-downer app (e.g., Transcribe! or Amazing Slow Downer), and a DAW if available to loop sections and isolate frequencies.
Print manuscript paper or open notation software like Sibelius or Finale, depending on whether they prefer handwritten notation or digital engraving. Keep a tuner, piano or keyboard, and a guitar with tablature paper for fretboard reference.
Set up a consistent workspace: a noise-free room, a short reference chart for clefs and accidentals, and a system to label audio timestamps. Back up audio files and interim notation to avoid losing work.
Listening and Familiarizing With the Song
They listen to the whole track multiple times at normal speed to internalize tempo, mood, and major motifs. Focus on the song’s vocal lines or lead instrument for melodic anchors during initial passes.
Next, loop short phrases and identify recurring riffs, hooks, and rhythmic patterns. Use a slow-downer to hear fast passages without changing pitch, and isolate frequency ranges in a DAW to separate bass from harmony.
Take quick timestamped notes: verse at 00:30, chorus at 01:02, bridge at 02:15. These notes become the roadmap for section-by-section transcription and reduce time spent hunting through the track.
Establishing Structure: Key, Time Signature, and Song Sections
They determine the key center by matching a stable pitch to a piano or tuner; confirm whether the song uses major/minor or modal scales. Check for key changes and label them with timestamps.
Identify the time signature by tapping along and counting beats per bar; listen for consistent downbeats and accents to confirm 4/4, 3/4, 6/8, or compound meters. Mark tempo (BPM) using a metronome or DAW tap-tempo.
Map song sections (intro, verse, chorus, bridge, outro) with measure counts and repeats. Note formal features like codas, key modulations, and irregular bar lengths to guide accurate notation and arrangement.
Ear Training and Aural Skills for Manual Transcription
They practice interval recognition, chord quality, and rhythmic subdivision to improve accuracy when transcribing music. Use flashcards or apps for intervals and triad/arpeggio identification, then apply those skills directly to the song.
Work on relative pitch by finding a reference pitch and singing or humming intervals up and down from it. Train to detect chord function (I, IV, V, vi) in context rather than just isolated triads.
Develop rhythmic reading by clapping or tapping subdivisions (e.g., eighths, triplets, sixteenths). Repeat with syncopated grooves to better transcribe percussion and offbeat accents.
Transcribing Melodies, Harmony, and Bass Lines
They start with the melody, transcribing short phrases and verifying pitches on a keyboard or fretboard. Notate with rhythmic values and slurs; mark repeated motifs to avoid re-transcribing identical lines.
Next, determine harmonic structure by listening for chord roots and highest chord tones; label chords with roman numerals or chord symbols. For dense textures, isolate frequency bands in a DAW to hear inner voices and extensions (7ths, 9ths).
Transcribe the bass line separately to confirm root motion and voice leading. Use tablature for guitar bass parts if that aids fingering clarity and includes both notation and tab when possible.
Transcribing Rhythm and Percussive Elements
They capture the drum groove by identifying the pulse and core pattern: kick placement, snare backbeats, and hi-hat subdivision. Loop 1–2 bar segments and notate using standard drum notation symbols or simple rhythmic stems if full notation is unnecessary.
Mark ghost notes, fills, and cymbal accents explicitly because they affect the feel. For hand percussion or complex grooves, slow the audio and count subdivisions to place syncopations precisely.
If percussion blends with melodic instruments, use EQ or mid/side processing to make transients clearer for transcription.
Notating Music By Hand or With Notation Software
They choose a notation method based on the final use: readable lead sheets by hand for quick gigs, or engraved parts in Sibelius/Finale for publication. Handwrite when first drafting; transfer to notation software for editing, playback, and printing.
When entering notes in software, use MIDI input or step-time entry for accuracy. Apply articulations, dynamics, and tempo markings; export parts for individual players and a full score for the arranger.
Include tablature tracks where helpful and keep separate layers for melody, harmony, bass, and percussion. Proofread measure-by-measure while listening to playback at original tempo.
Using Transcription Software and Playback Tools
They employ tools like Transcribe!, audio editors, and DAWs to loop, slow, and isolate sections without pitch-shifting artifacts. Use spectral view to spot transient attacks and harmonic overtones that indicate instrument pitch.
Automatic transcription software can suggest notes and chord labels, but treat outputs as drafts to be corrected manually. Compare automatic chord detection against a trained ear and adjust for context (inversions, extensions).
Use A-B comparison between the audio and MIDI playback from notation software to catch timing, octave, and voicing mismatches.
Overcoming Common Challenges in Manual Transcription
They address dense mixes by isolating frequency bands, muting tracks in a DAW, or finding multitrack stems if available. For fast passages, slow the audio and transcribe in small segments.
When unsure of an ambiguous pitch, mark it with cautionary accidentals or a question mark and move on; return later with fresh ears or a collaborator. For complex chords, determine bass/root first, then identify extensions and tensions.
Manage fatigue by limiting sessions to 45–60 minutes and using ear-training warm-ups. Keep detailed change logs when editing notation to track decisions.
Finalizing, Editing, and Reviewing Your Transcription
They perform a bar-by-bar playback comparison between the audio and the notated score, correcting timing, pitch, and dynamics as needed. Print or export individual parts and perform a read-through with a musician or synth instruments to confirm playability.
Document editorial choices: simplified voicings, omitted ornaments, or inferred harmonies, so users understand deviations from the original. Archive the final files (PDF, MusicXML, and project backups) and include a notes page with tempo, tuning, and any capo or transposition information.