
You want quick, satisfying projects that fit into a busy schedule and still produce something beautiful or useful. This article shows simple arts and crafts you can complete in under one hour, with clear steps and everyday materials, so you can start immediately.
It points to a variety of projects—paper crafts, easy sewing, quick home decor, and upcycled ideas—so anyone can pick a style or skill level and finish within a short break. Practical tips on materials, time estimates, and common pitfalls help you finish confidently and enjoy the process.
Top Arts and Crafts Projects You Can Finish in Under One Hour
These projects use common materials, minimal tools, and clear steps so crafters can complete attractive, functional items quickly. Each idea lists essential supplies, a short method, and tips for personalization or quick variations.
Quick DIY Coaster Creations
Make personalized coasters using ceramic tiles, cork backing, and alcohol inks or decoupage paper. Start by cutting decorative paper or applying alcohol ink patterns to 4″ tiles, seal with two coats of water-based polyurethane, and glue 1/8″ cork pads on the underside to protect surfaces.
Keep designs simple for one-hour completion: geometric shapes with washi tape, pressed leaves under resin-look epoxy (use fast-curing epoxy or gloss varnish), or stamped initials with waterproof ink. For durable coasters, dry times matter—use quick-dry sealers and let each coat cure 10–15 minutes under a fan.
Variations: felt-backed versions for a softer edge, personalized photo coasters (print photos to fit tiles), or painted terra-cotta coaster rounds. Recommended tools: craft knife, ruler, foam brush, sanding paper (220 grit), and adhesive.
Simple Mason Jar Crafts
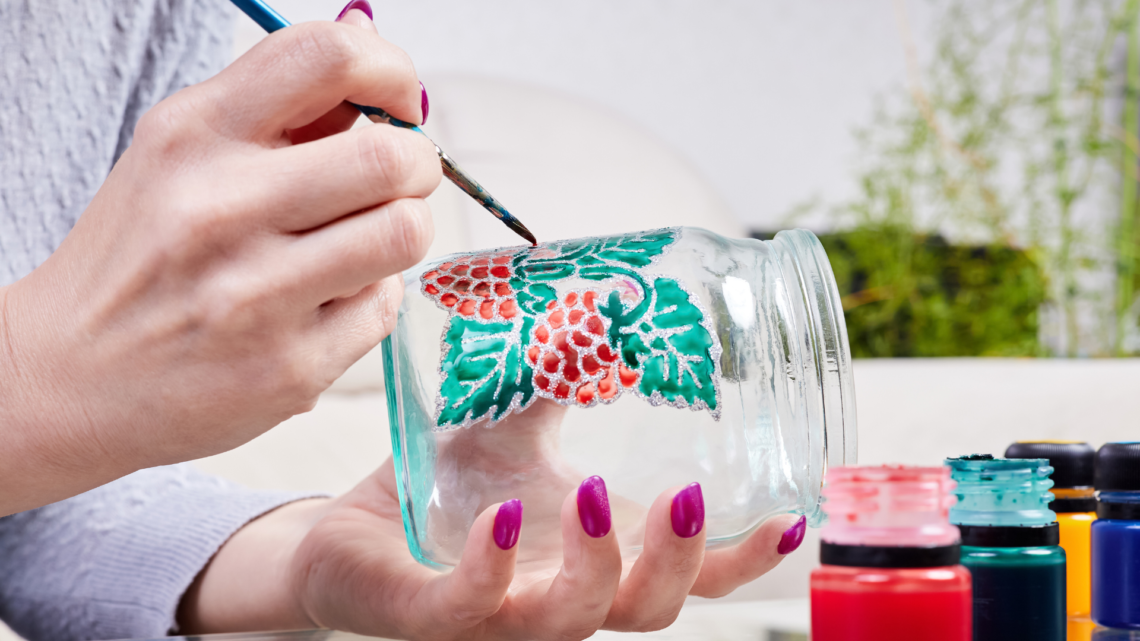
Transform jars into candle holders, utensil caddies, or painted storage with minimal drying time. For a frosted look, spray matte glass paint inside the jar and wrap twine around the neck while it dries to add texture and grip.
Use chalkboard paint on one side to create labeled pantry jars or DIY message jars for household notes. For luminaries, place a battery tea light inside, glue a doily to the outside, and spray with clear sealant to preserve the pattern.
Fast personalization options include ribbon, hot-glued button clusters, or decoupage tissue for floral patterns. Supplies: clean mason jars, spray paint or acrylics, twine, glue gun, and tea lights.
Easy Macrame Plant Hanger Ideas
Create simple macrame hangers using cotton cord and three to four basic knots: lark’s head, square knot, and gathering knot. Cut cords to the appropriate length (usually five times the desired finished length), attach to a wooden ring, and work downward in pairs to form a cradle.
For a one-hour project, keep designs minimal—three-strand spiral knot or alternating square knots to support small pots (2–4″ diameter). Use hemp or 3–4mm cotton cord for quick knotting and a low-profile metal O-ring for hanging.
Finish with a tight gathering knot and trim ends; add beads on the cords for a modern accent. Recommended tools: scissors, a tape measure, and a clipboard or hook to hold the ring while knotting.
Hand-Painted Plant Pots
Update terracotta pots with acrylic paints, painter’s tape, and stencils to create clean, fast designs. Wash and dry pots, apply a base coat, mask geometric shapes with tape, then paint contrasting colors and seal with matte varnish to protect outdoors.
For short sessions, stick to two-color patterns, simple stripes, or dotted mandalas using a pencil guide and a round brush or dotting tool. Use outdoor-grade acrylic if pots will sit on a sunny porch.
Personal touches include adding plant names with a permanent marker or applying metallic paint rims. Necessary supplies: terracotta pots, acrylics, brushes, painter’s tape, and sealer.
Macrame Wall Hanging Projects
Craft small macrame wall hangings for immediate impact using 3–5 cords tied to a wooden dowel. Choose a simple pattern—alternating square knots followed by a row of diagonal half hitch knots—and finish with angled fringe for a tidy edge.
Keep the piece compact (8–12″ wide) to complete within an hour. Combine natural cotton cord with a few wooden or metal beads for texture and faster visual interest.
Mount with a leather hanging loop or twine. Tools: scissors, ruler, and a dowel or branch; templates for knot spacing speed up the process.
Personalized Handmade Greeting Cards
Make greeting cards with cardstock, rubber stamps, embossing powder, or collage elements for fast, custom stationery. Fold a 5×7 card base, stamp a sentiment in archival ink, and add a watercolor wash or paper layers for depth.
Add embellishments like washi tape borders, sequins, or pressed flowers glued with a thin adhesive. For a one-hour finish, limit to two layers and one focal embellishment.
Include envelope liners cut from patterned paper for a professional finish. Supplies: heavy cardstock, stamps, inks, glue stick, and small scissors.
Expressive DIY Wall Art
Produce quick wall art on small canvases using acrylics, stencils, or collage for immediate display. Block in a background color, layer a simplified stencil motif or geometric tape resist, and add highlight lines with a metallic pen.
Collage options include magazine cutouts or patterned paper sealed with decoupage medium for a textured look. Limit work to 8×10″ canvases to dry quickly and fit common frames.
Frame or attach hanging hardware after the sealer dries. Essential materials: canvas panel, acrylics, brushes, masking tape, and decoupage glue.
Chalkboard Paint Decor Projects
Apply chalkboard paint to trays, picture frames, or jars to create reusable labeling and decor. Clean surfaces, apply two thin coats of chalkboard paint, and cure per product instructions; condition by rubbing chalk over the surface and wiping it clean.
Use for menu boards, gift tags on mason jars, or custom party signage. Combine with chalk pens for more precise lettering that wipes off with a damp cloth.
Quick variants include chalkboard-painted coasters or fridge magnets painted on thin wood slices. Supplies: chalkboard paint, brush or mini roller, and chalk markers.
Beaded and Wire Jewelry Making
Design simple beaded bracelets or wire-wrapped pendants using elastic cord, crimps, and pliers for fast assembly. Measure wrist, string beads (glass, wood, or gemstone chips), and secure with a tight knot plus a dab of jewelry glue for elastic bracelets.
For wire pieces, form a loop, wrap the wire around a cabochon or bead, and make a bail for a chain. Use 20–24 gauge wire for quick shaping and minimal tools.
Keep patterns short—6–8 focal beads—or use bead spacers and charms for a finished look. Tools and supplies: round-nose pliers, cutters, beads, wire, and elastic cord.
Stamped Tea Towel Designs
Customize cotton tea towels with fabric ink and foam or rubber stamps for quick, washable kitchen linens. Pre-wash towels, place cardboard inside to prevent bleed-through, stamp evenly, and heat-set per ink instructions.
Use repeating patterns—clusters of herbs, geometric rows, or monogram initials—for professional-looking results in under an hour. Combine with fabric markers for small accents.
Recommended supplies: plain cotton towels, fabric ink pads, stamps, cardboard, and an iron or heat press for setting.
Fast Functional Craft Ideas
Create useful household items like phone stands, cord organizers, and key bowls using wood offcuts, leather scraps, or polymer clay. Cut and sand a small wood block for a phone rest, drill a notch, and finish with Danish oil for a quick, durable piece.
Make cord holders from leather strips and snap rivets for tidy charging stations. Mold quick key bowls from polymer clay, bake per package instructions, and glaze if desired.
Focus on one functional item per session to finish in under an hour. Tools: basic hand saw, drill, leather punch, and oven for clay.
Decorative Mason Jar Snow Globes
Assemble mason jar snow globes as festive gifts using distilled water, glycerin, and waterproof glue. Glue a small figurine to the inside of the lid, fill the jar with water plus a few drops of glycerin to slow glitter fall, then add glitter and screw the lid on tightly.
Seal the lid edge with waterproof silicone for leak-proof shipping or display. Use small plastic figurines or corked glass bulbs for quick variations.
Label jars with ribbon or stamped tags. Supplies: mason jar, clear-drying waterproof glue, glycerin, glitter, and figurines.
Peaceful Mini Zen Gardens
Make desktop mini zen gardens using shallow trays, fine sand, a few stones, and a miniature rake. Fill the tray with sand, arrange stones with asymmetry, and provide a tiny wooden rake for calming patterns.
Add succulents or moss in small quantities for a living element that requires little maintenance. Keep dimensions small (6–8″ tray) to finish layout and assembly quickly.
Tools: small trowel or spoon, tweezers for precise placement, and a sealant if using natural wood trays.
Creative Painted Rock Art
Paint inspirational messages, tiny landscapes, or animal designs on smooth river rocks using acrylic paints and fine brushes. Clean and prime rocks with a white acrylic base, sketch simple designs in pencil, then paint and seal with glossy varnish.
Use dot-painting or mandala patterns for repeatable, fast projects. Rocks make durable paperweights, garden markers, or kindness stones to hide around town.
Supplies: smooth rocks, acrylics, fine liners, and varnish.
Unique String Art Projects
Create small string art pieces on wooden boards using nails and embroidery floss for quick geometric designs. Trace a simple shape (heart, mountain, initial), hammer nails evenly along the outline, and wrap floss in repeating angles to build a pattern and fill.
Limit complexity to one color gradient or two contrasting shades to finish in under an hour. Use pre-stained or painted wooden plaques to skip drying times.
Tools: hammer, small finishing nails, embroidery floss, and a printed template for spacing.
Fun Paper Craft Creations
Cut and fold paper to craft origami animals, paper garlands, or layered paper frames. Use double-sided patterned paper for quick pop-up cards and accordion-fold garlands for party decor that assembles quickly.
For three-dimensional pieces, score and glue tabs precisely; use a craft knife and metal ruler for clean edges. Keep templates small (A5 or smaller) for faster folding and cutting.
Supplies: patterned paper, glue stick, scissors, bone folder, and printed templates for reproducible results.